You already had your first few presentations and want to understand what exactly Slide Presenter does to convert ordinary Confluence pages and blog posts to beautiful presentation slides?
Let us introduce you to the layout algorithm at the heart of Slide Presenter. This will give you a deep understanding about how to control the layout of your presentations.

Imagine Slide Presenter as a robot with a pair of scissors and glue, in front of a printout of your Confluence page. Let’s start crafting a presentation!
The Presenter algorithm operates in three phases:
-
The preparation: taming wild content and organizing child pages. Presenter knows a lot of different formats used on Confluence pages and adapts them to look good on slides - this gives you Youtube videos, code highlighting and integrations like draw.io.
-
The main algorithm: cutting and layouting.
That’s where we will dive deeper below. -
The sugar coating: last finishing touches
This part applies fairy dust to the layout: images are scaled up, links are made beautiful etc.
All this happens within the design rules of your chosen theme. Head over to Editing & creating themes to learn more about theme design.
The main algorithm: semantic cuts and the overflow
At its core, Presenter cuts your content into pieces that belong together (let’s call it “semantic”, that sounds clever). If those pieces are too big for one slide, it distributes the overflow on additional slides. Here are the steps explained:
Cutting the content semantically
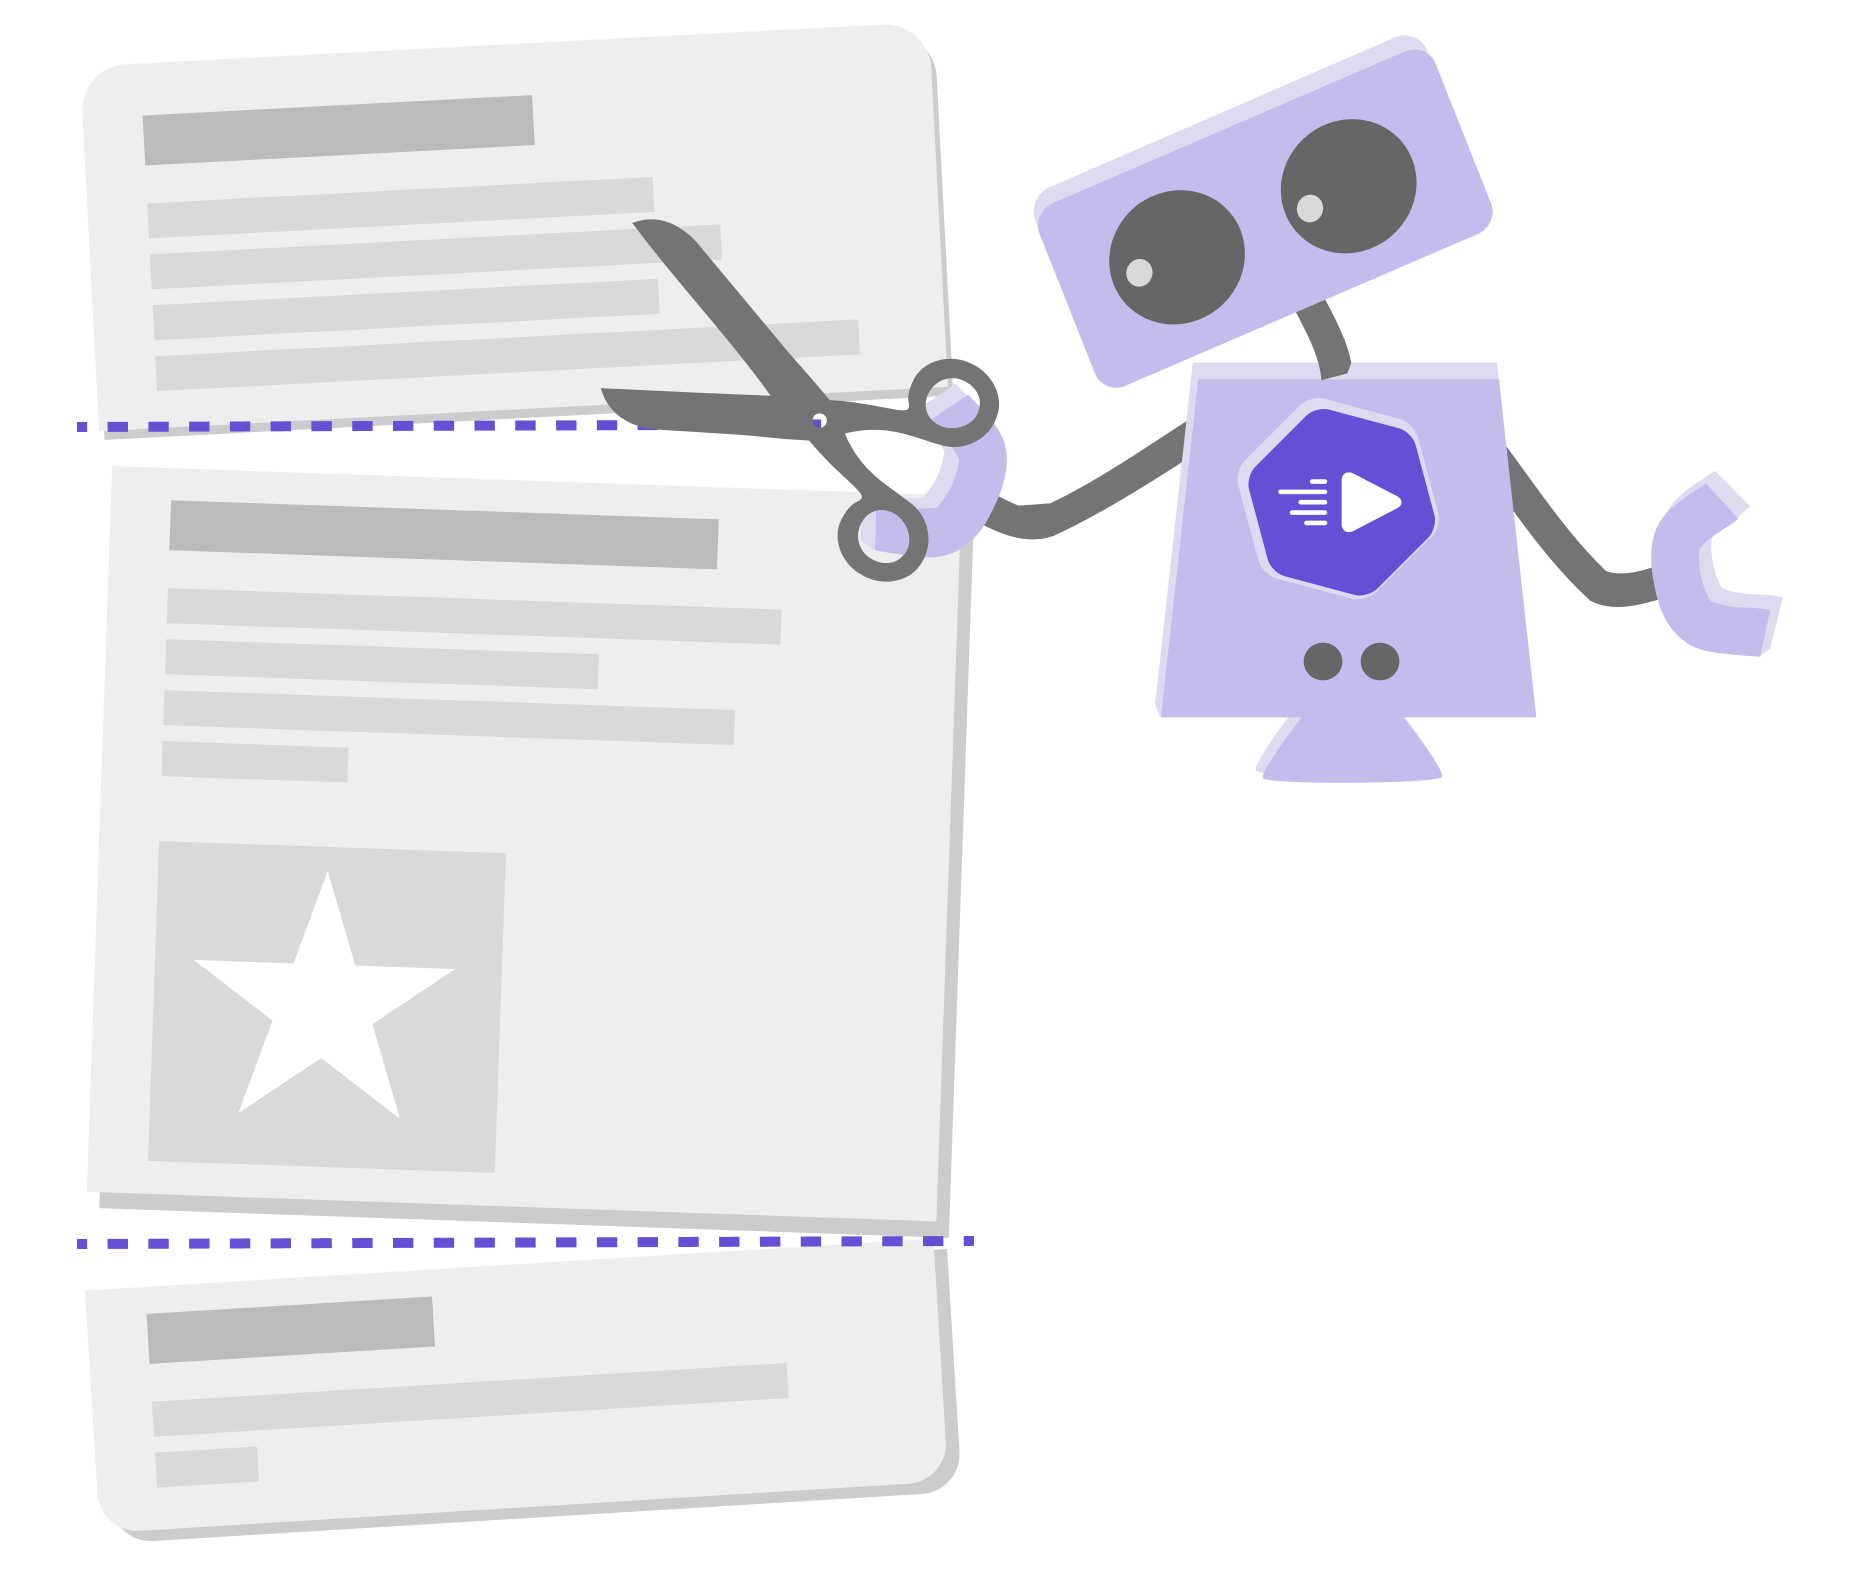
Presenter cuts your content in pieces.
When editing a theme, you can choose the elements that are used as cut marks in the Content Formatting area. The following are the defaults.
-
Cut above all headlines
Every headline starts a new slide. Presenter makes a cut right before every headline. -
Cut above slide break macros
Presenter searches for Presenter Slide Break macros - they serve as a “cut here” marker.
Dealing with the overflow
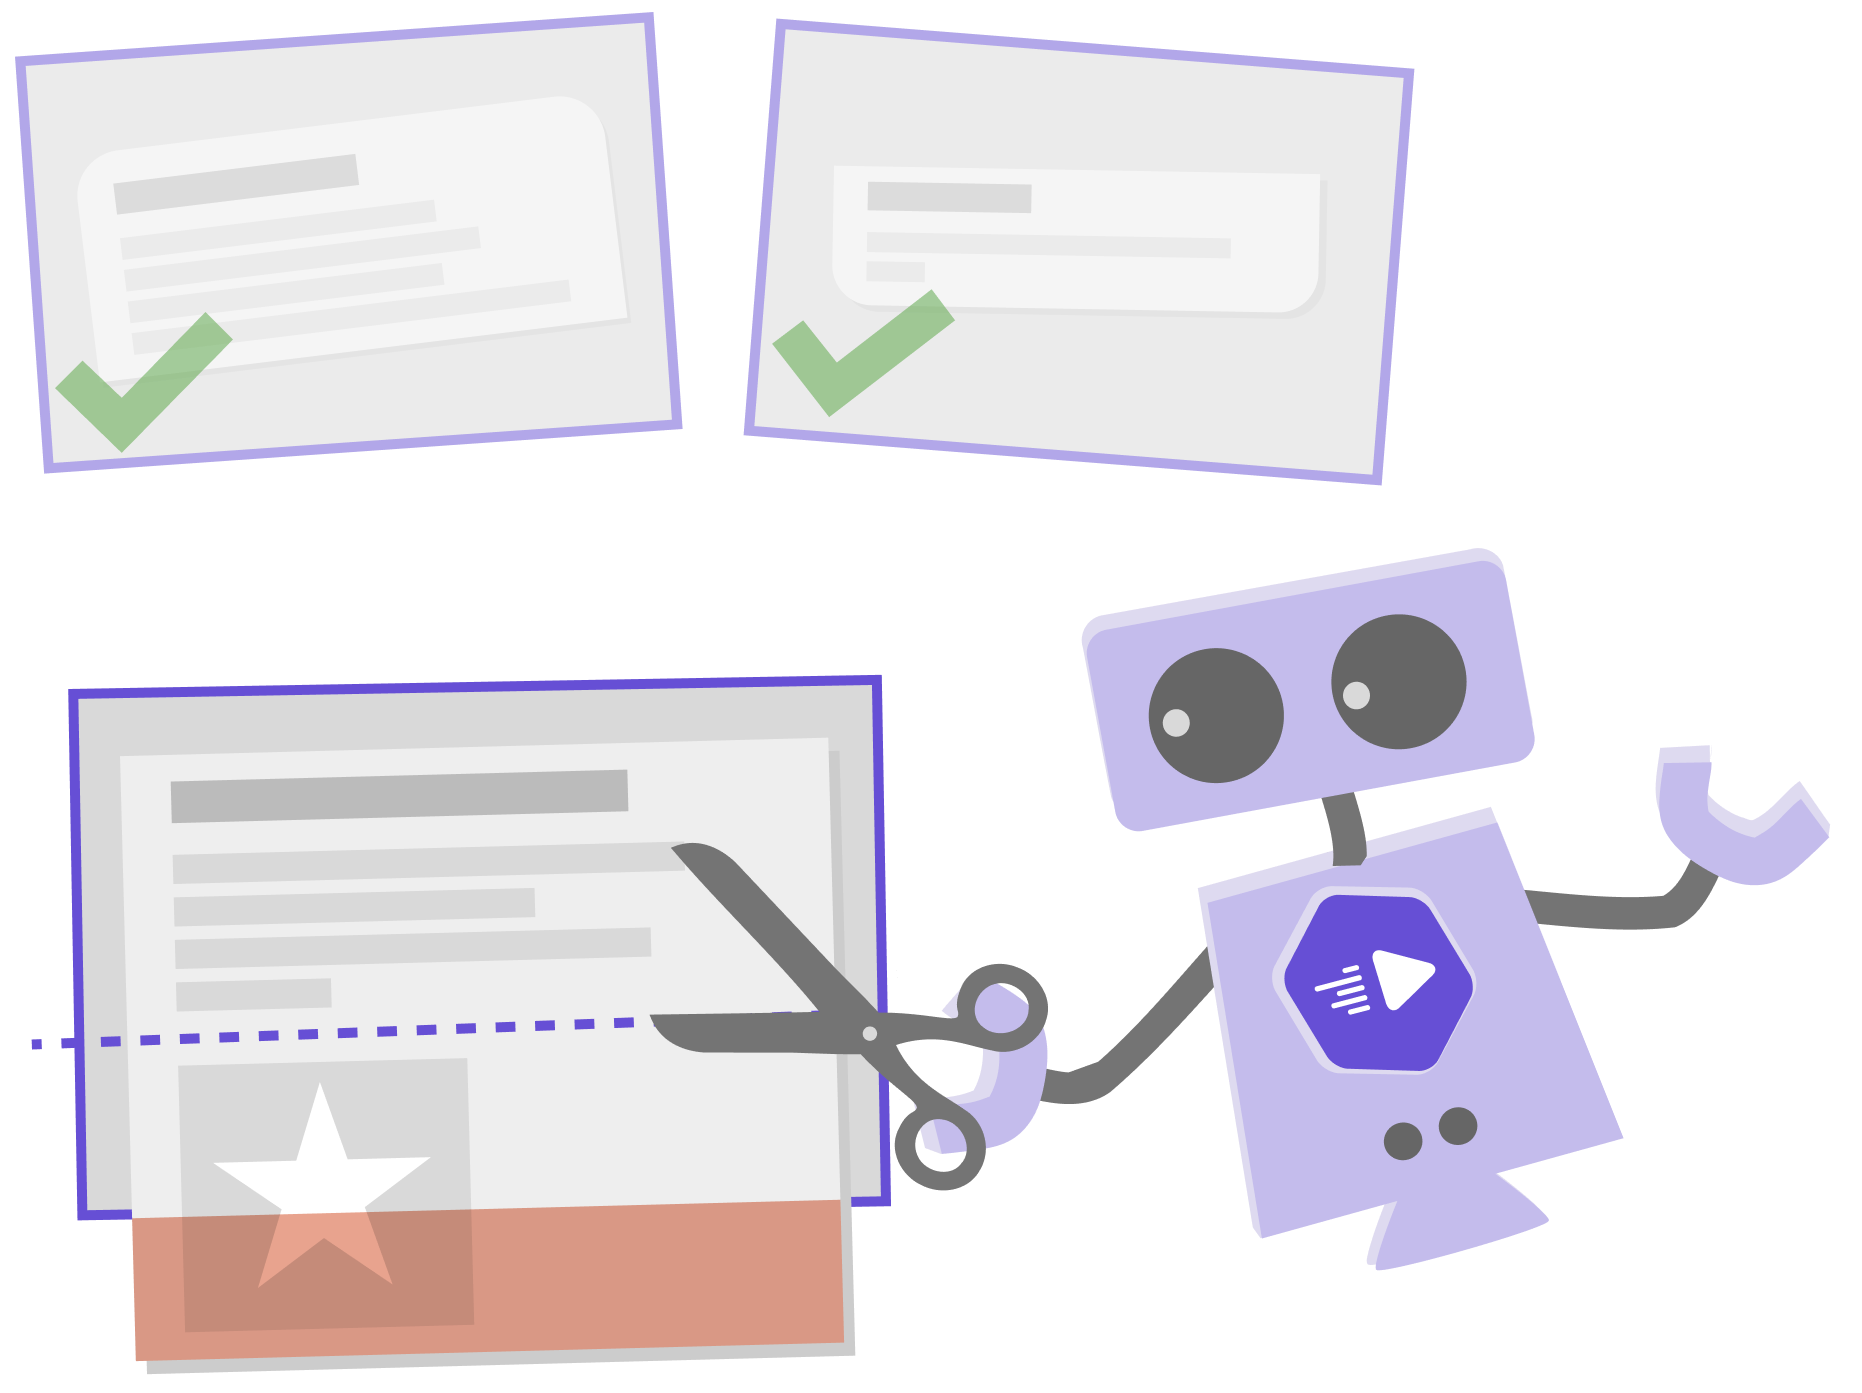
The pieces we got from “Cutting the content” are glued on slides now. If the whole content piece fits on the slide, Presenter is done for now.
If the content piece is longer than the slide, Presenter will cut the excess content and place it on a new slide. It will repeat this excess content cutting until all content is glued on a slide.
Sorting the slides on the desk
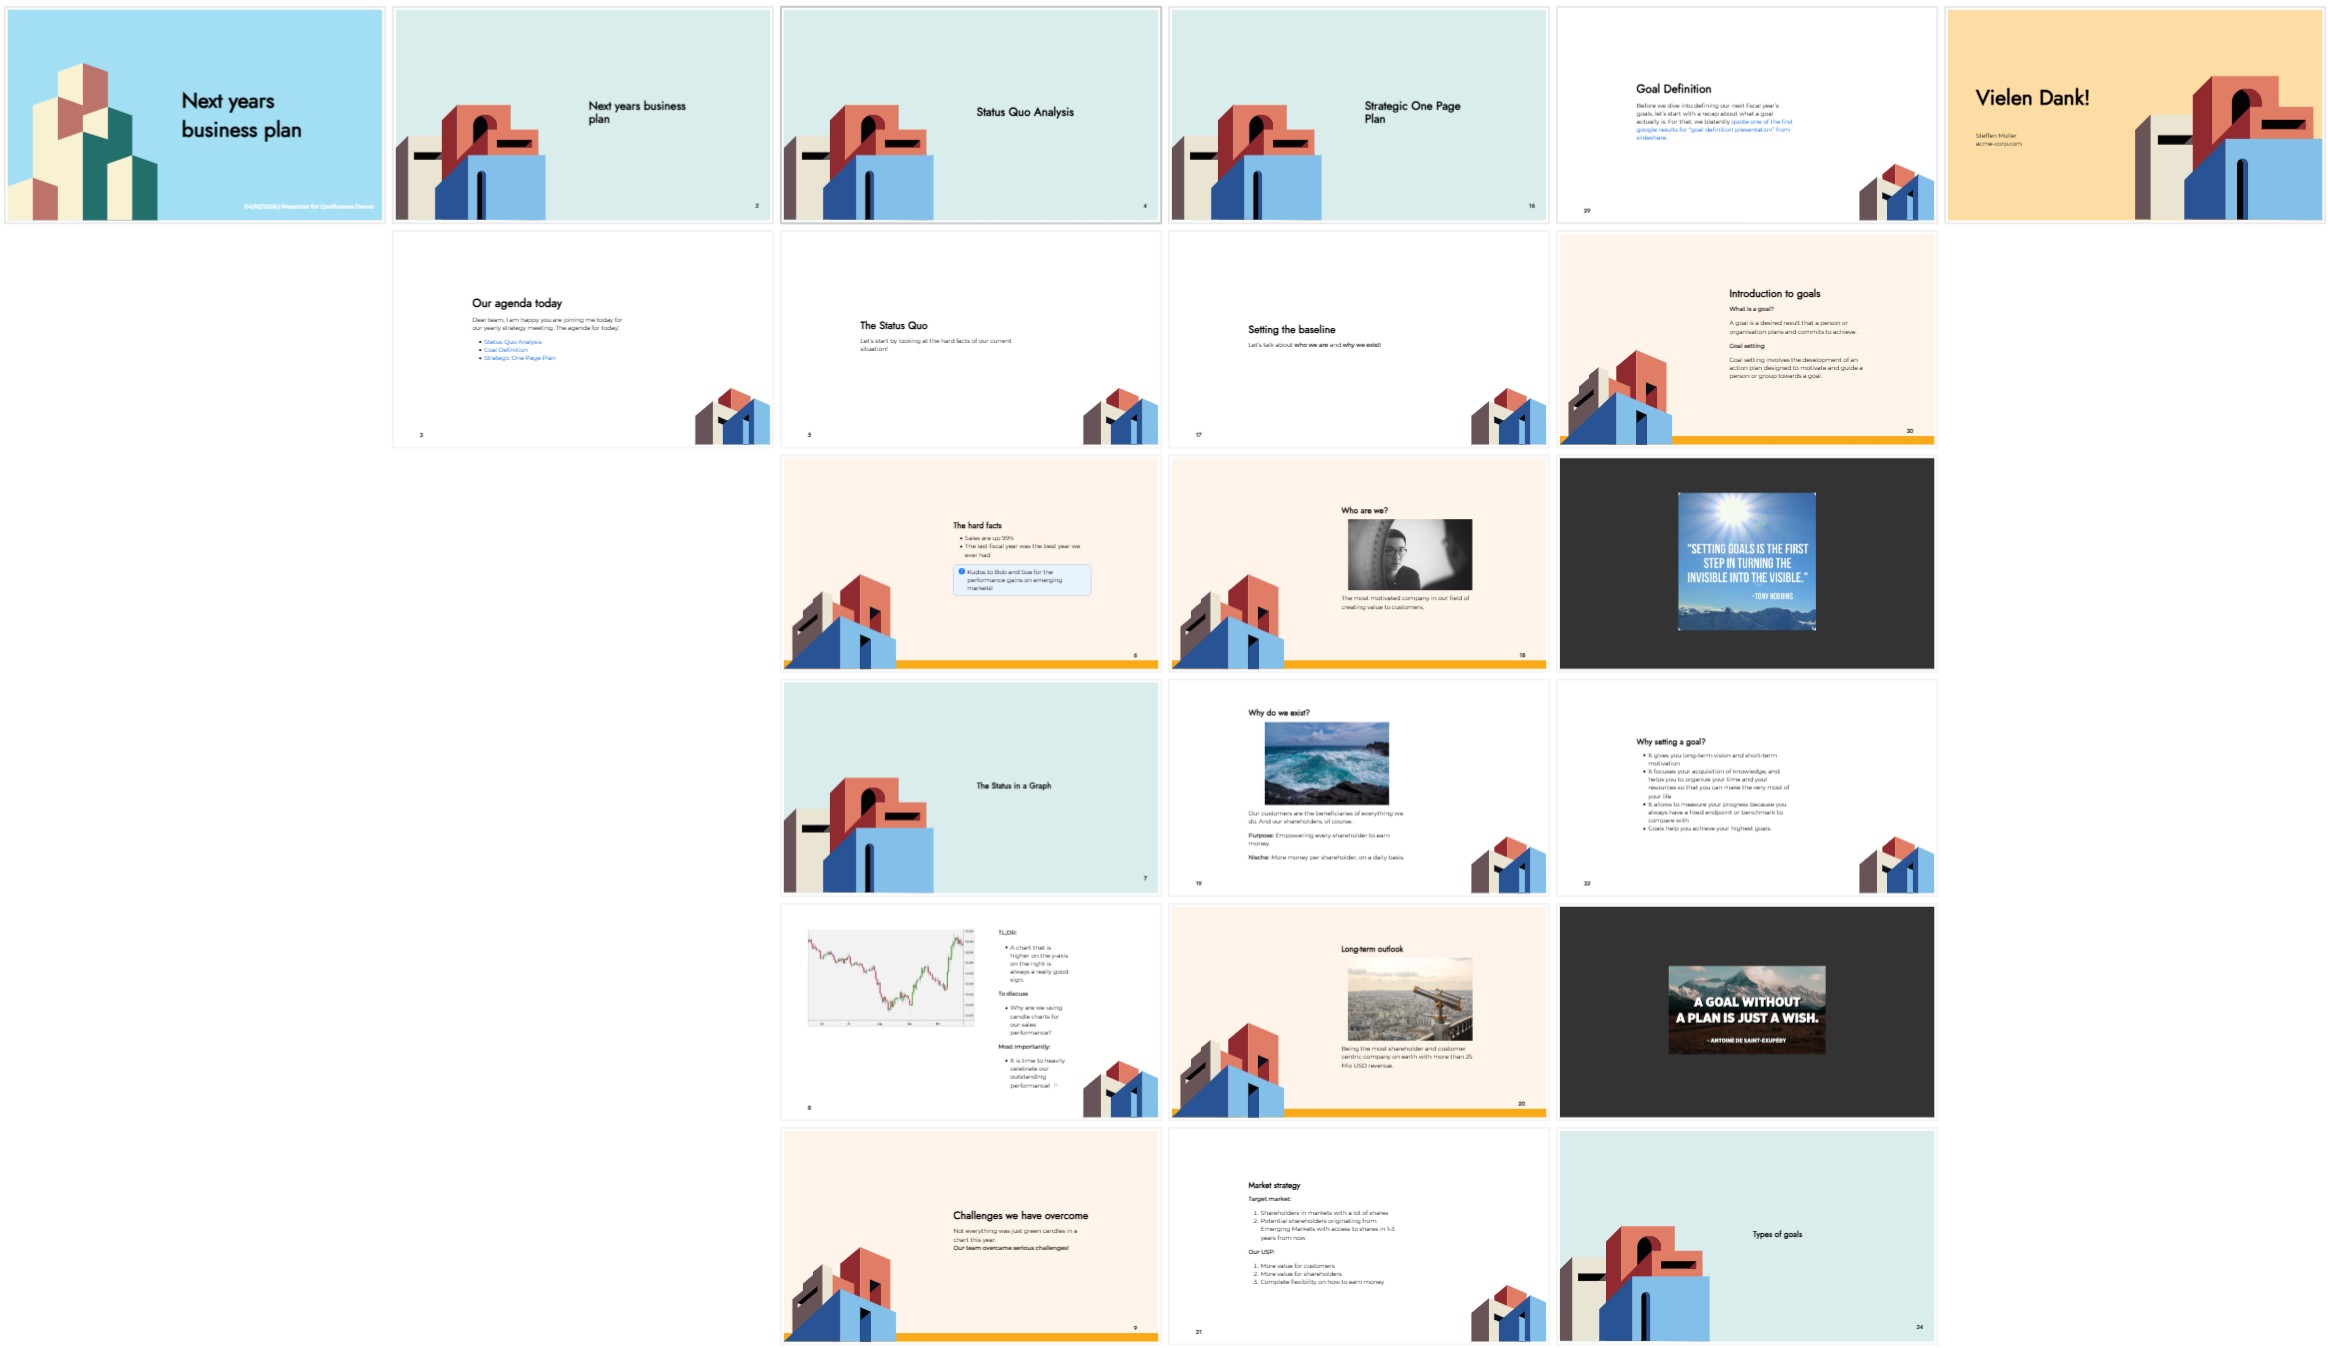
Your presentation is a linear flow of slides. When you switch to the slide overview, they are sorted in two dimensions: each Confluence page in your presentation starts a new column. Intro and outro slides get their own columns as well.
A typical slide overview with 4 pages in the presentation looks like this: