
Click on a slide in the slide overview to open it in the center of the editor. This is where the slides are designed!
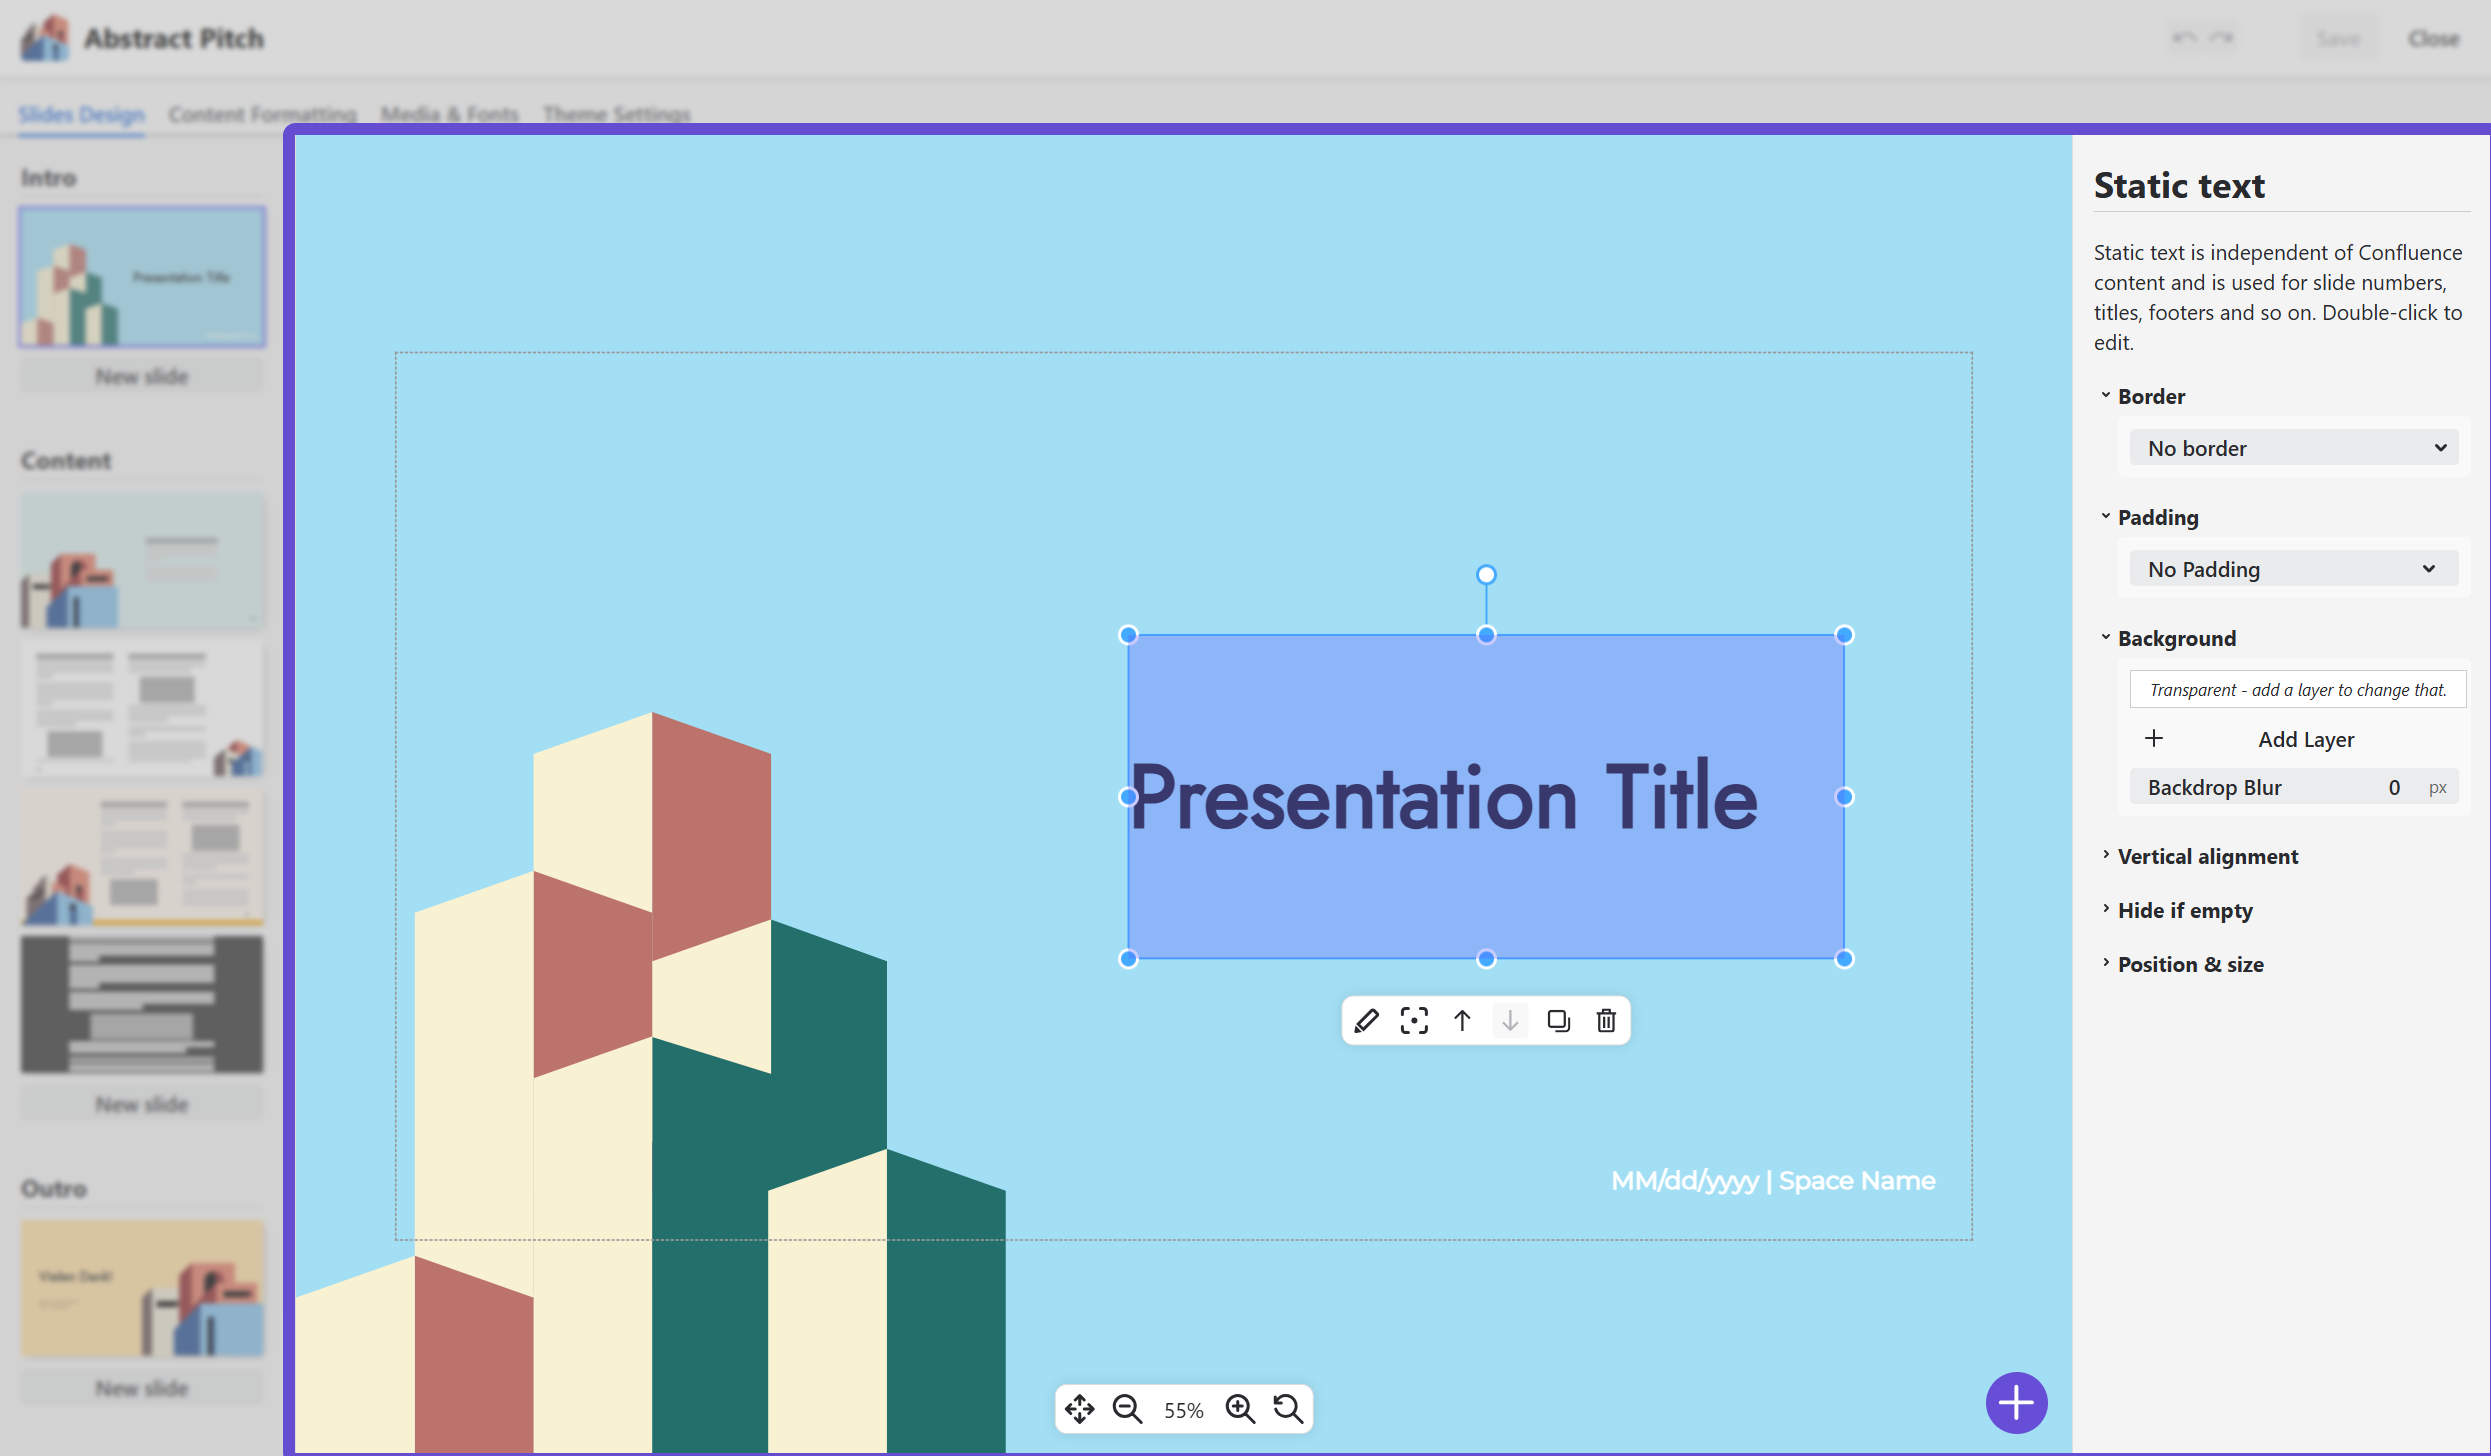
Navigating on the slide
You can zoom in on the slide and pan around. There’s a navigation bar on the bottom of the slide editor:
-
Click on the magnifying lens buttons to zoom in and out of the slide
-
The magnifying lens button with the arrow resets zoom and pan to the ideal “The whole slide fits on the screen” level
-
Click on the percentage to zoom to 100%, with 100% meaning “a pixel on the slide equals one pixel of your screen”
-
With the arrow button on the left, you can enable and disable pan mode - the cursor becomes a hand and you can grab and drag the slide around. Note that simply using the right mouse button does the same.
Tipp: You can move around the slide by pressing the right mouse button and drag the slide.
Adding slide elements
Slides are built of any number of slide elements. You can add new elements with the big plus button on the bottom right:
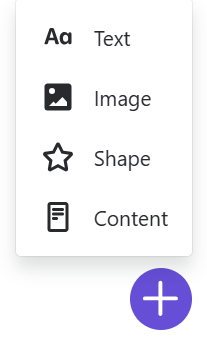
There are four different slide element types. Get an overview on the Slides Design page.
Working with a slide element
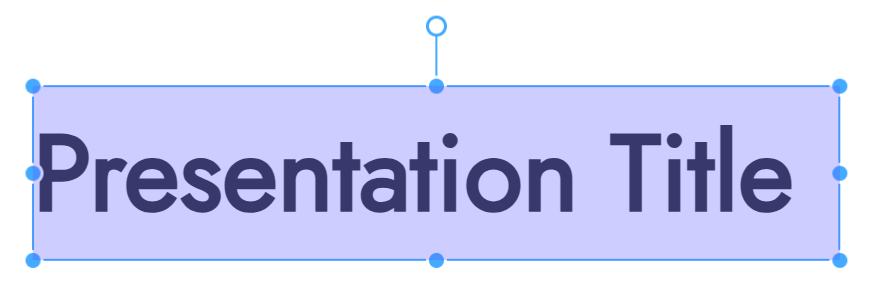
When you click on a slide element, a blue box with handles and a floating toolbar appear.
Position & rotate
-
Position: Click and drag the blue box to move the slide element around. You can also use the arrow keys!
-
Change the size: Use any of the blue handles to change the size of the element. Hold the
SHIFTkey to keep the aspect ratio of the element fixed while resizing. -
Rotate: Use the outer white handle to rotate the element.
For images, keeping the aspect ratio is the default. Use the SHIFT key to resize images without keeping the aspect ratio.
For pixel perfect placement, you can edit all the position and rotation attributes in the “Position & size” property box on the right.
The floating toolbar
|
Function |
Shortcut |
|---|---|
|
Edit: Lets you edit the text content. This only works for static text slide elements. |
Double click on the blue box |
|
Center: Centers the element on the slide |
Press the keyboard button |
|
Move up / Move down: moves the element in the element stack. Use this to put elements behind or in front of other elements. |
- |
|
Copy: Creates a copy of the slide element. |
Use With these shortcuts, you can even copy slide elements across slides! |
|
Delete: Deletes the slide element. |
Press the keyboard button |
Working with element attributes
On the right side of the screen, there is a list of all the attributes of the current slide element that you can edit. Simply collapse or expand attributes you want to view or change.
Special attributes are described on the individual pages of their slide elements.